
In the previous tutorial, we have learned how to retrieve data from the form . Both those using the GET and POST methods.
However, to upload files ...
... we haven't made it yet.
We can do file uploads on Nodejs with modules
formidable and mv.
The module
formidableis a special module to retrieve data from the form specifically for uploading files.
Then
mvwe will use the module to move files from the temp directory into the project folder .
Actually, we can also use modules
fs with functions fs.rename()to move files.
But, I tried it on Linux and an error occurred.
Maybe it's because access rights are not permitted by root.
Therefore, I chose to use a module
mvto move the uploaded file.
How to use it is simpler than that
fs.
For more details, let's try creating a file upload program at Nodejs.
Creating a New Project
Make a new directory named
nodejs-upload. Then in it we will create a file upload_file.js and form_upload.html.
In the directory
nodejs-upload, create a new directory again with anam uploads.
The directory
uploadswill be used to save files that have been uploaded to the server.
The following is the directory structure of our project:
nodejs-upload/
├── form_upload.html
├── upload_file.js
└── uploads/
Module Installation required
Before making a program update, prepare the required modules first.
Module
formidableand mvnot yet available at Nodejs. We have to install it with NPM (Node Package Manager) .
First, we install
formidable:npm install formidable
Wait until the installation process is complete.
Next, we install the module
mv:npm install mv
Wait until the process is complete.
Then there will be a beru directory named
node_modulesin our project.nodejs-upload/
├── form_upload.html
├── node_modules/
├── upload_file.js
└── uploads/
Create Upload Form
Let's start writing the upload form. Open the file
form_upload.html, then fill in the following code:<!DOCTYPE html>
<html lang="en">
<head>
<meta charset="UTF-8">
<meta name="viewport" content="width=device-width, initial-scale=1.0">
<meta http-equiv="X-UA-Compatible" content="ie=edge">
<title>Upload File</title>
</head>
<body>
<form action="/" method="post" enctype="multipart/form-data">
<fieldset>
<legend>Upload File</legend>
<p>
<label>File: </label>
<input type="file" name="filetoupload" required>
</p>
<input type="submit" value="Upload">
</fieldset>
</form>
</body>
</html>
This form will send to
/(root) the website. Look at the properties action on the form.
Then we also give
enctype="multipart/form-data", this is required for the data upload form.
Also note the name for the file field, where we use the name
filetoupload. This will then be used as a variable in the server program.
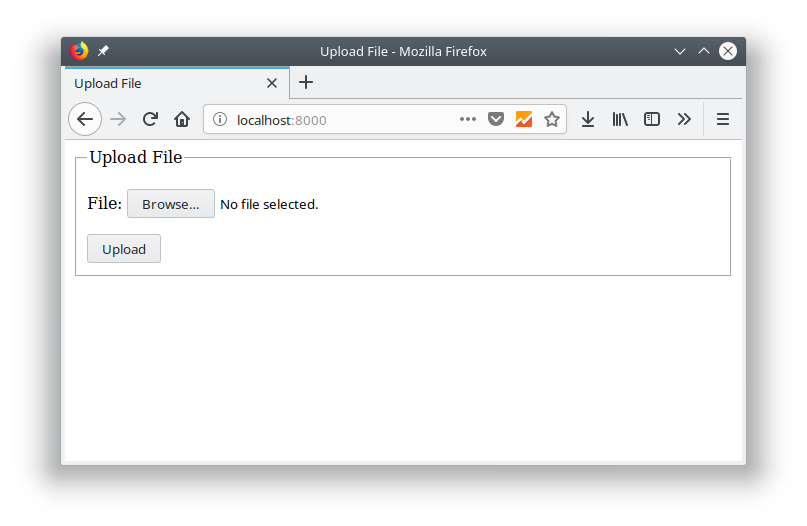
Following is the display of the form above:
Creating a Server to Upload Files
The form and module are ready.
The last step, we will create a script for the server.
Please open the file
upload_file.js, then fill in the following code: var http = require('http');
var fs = require('fs');
var formidable = require('formidable');
var mv = require('mv');
http.createServer(function (req, res) {
// kirim form upload
if (req.url === "/" && req.method === "GET"){
    fs.readFile("form_upload.html", (err, data) => {
        res.writeHead(200, { 'Content-Type': 'text/html' });
        if (err) throw err;
        res.end(data);
    });
}
// upload file
if (req.url == '/' && req.method === "POST") {
// membuat objek form dari formidable
var form = new formidable.IncomingForm();
// manangani upload file
form.parse(req, function (err, fields, files) {
var oldpath = files.filetoupload.path;
var newpath = __dirname + "/uploads/" + files.filetoupload.name;
// pindahakan file yang telah di-upload
mv(oldpath, newpath, function (err) {
if (err) { throw err; }
console.log('file uploaded successfully');
return res.end("file uploaded successfully");
});
});
}
}).listen(8000);
console.log("server listening on http://localhost:8000");
After that, try executing and testing the upload file.
Congratulations 
The file was uploaded successfully.
Let's get the code filled ...
We start from this code:
// kirim form upload
if (req.url === "/" && req.method === "GET"){
fs.readFile("form_upload.html", (err, data) => {
res.writeHead(200, { 'Content-Type': 'text/html' });
if (err) throw err;
res.end(data);
});
}
This is the code to send the form or static file to the client . If you have learned about the file system module, you must understand.
Next code that handles uploads:
if (req.url == '/' && req.method === "POST") {
    //...
}
To note the code in it.
This is a line of code for creating objects from the module
formidable. We can use this object to retrieve data from the form.// membuat objek form dari formidable
var form = new formidable.IncomingForm();
Next
formwe parse this object to retrieve the data.// manangani upload file
form.parse(req, function (err, fields, files) {
var oldpath = files.filetoupload.path;
var newpath = __dirname + "/uploads/" + files.filetoupload.name;
// pindahakan file yang telah di-upload
mv(oldpath, newpath, function (err) {
    if (err) { throw err; }
    console.log('file uploaded successfully');
    return res.end("file uploaded successfully");
});
});
In the above code, we take the file path of the uploaded file and save it to a variable
odlpath.
Usually uploaded files will be temporarily stored in a temporary directory
/tmp/.
In Linux, directories are
/tmp/usually only freely accessed by the root and user registered in it.
This is probably what caused me to fail to use the module
fsto move files.
As the ganit, we use modules
mv. In Linux, commands are mv used to rename and move files.// pindahakan file yang telah di-upload
mv(oldpath, newpath, function (err) {
if (err) { throw err; }
console.log('file uploaded successfully');
return res.end("file uploaded successfully");
});
For variables
newpath, we use global variables __dirname to get the pathaddress of the project.
Then added with
/uploads/and file name.var newpath = __dirname + "/uploads/" + files.filetoupload.name;Reference: https://www.petanikode.com/nodejs-upload/


0 Komentar untuk "Learning Nodejs # 8: How to Upload Files on Nodejs"
Please comment according to the article